Inquiries
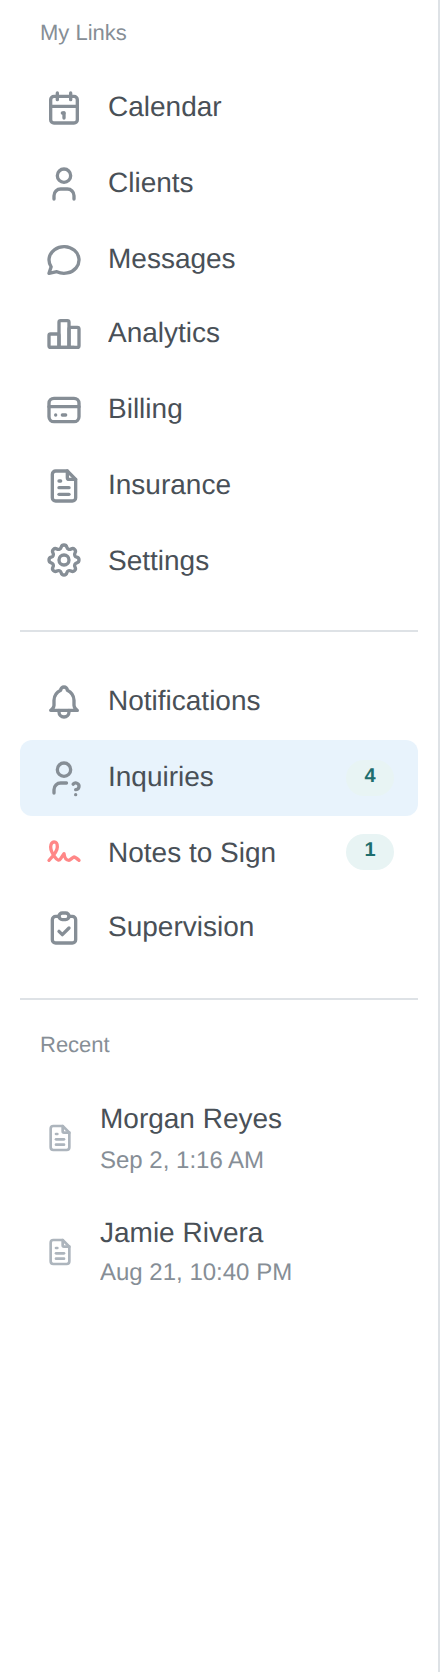
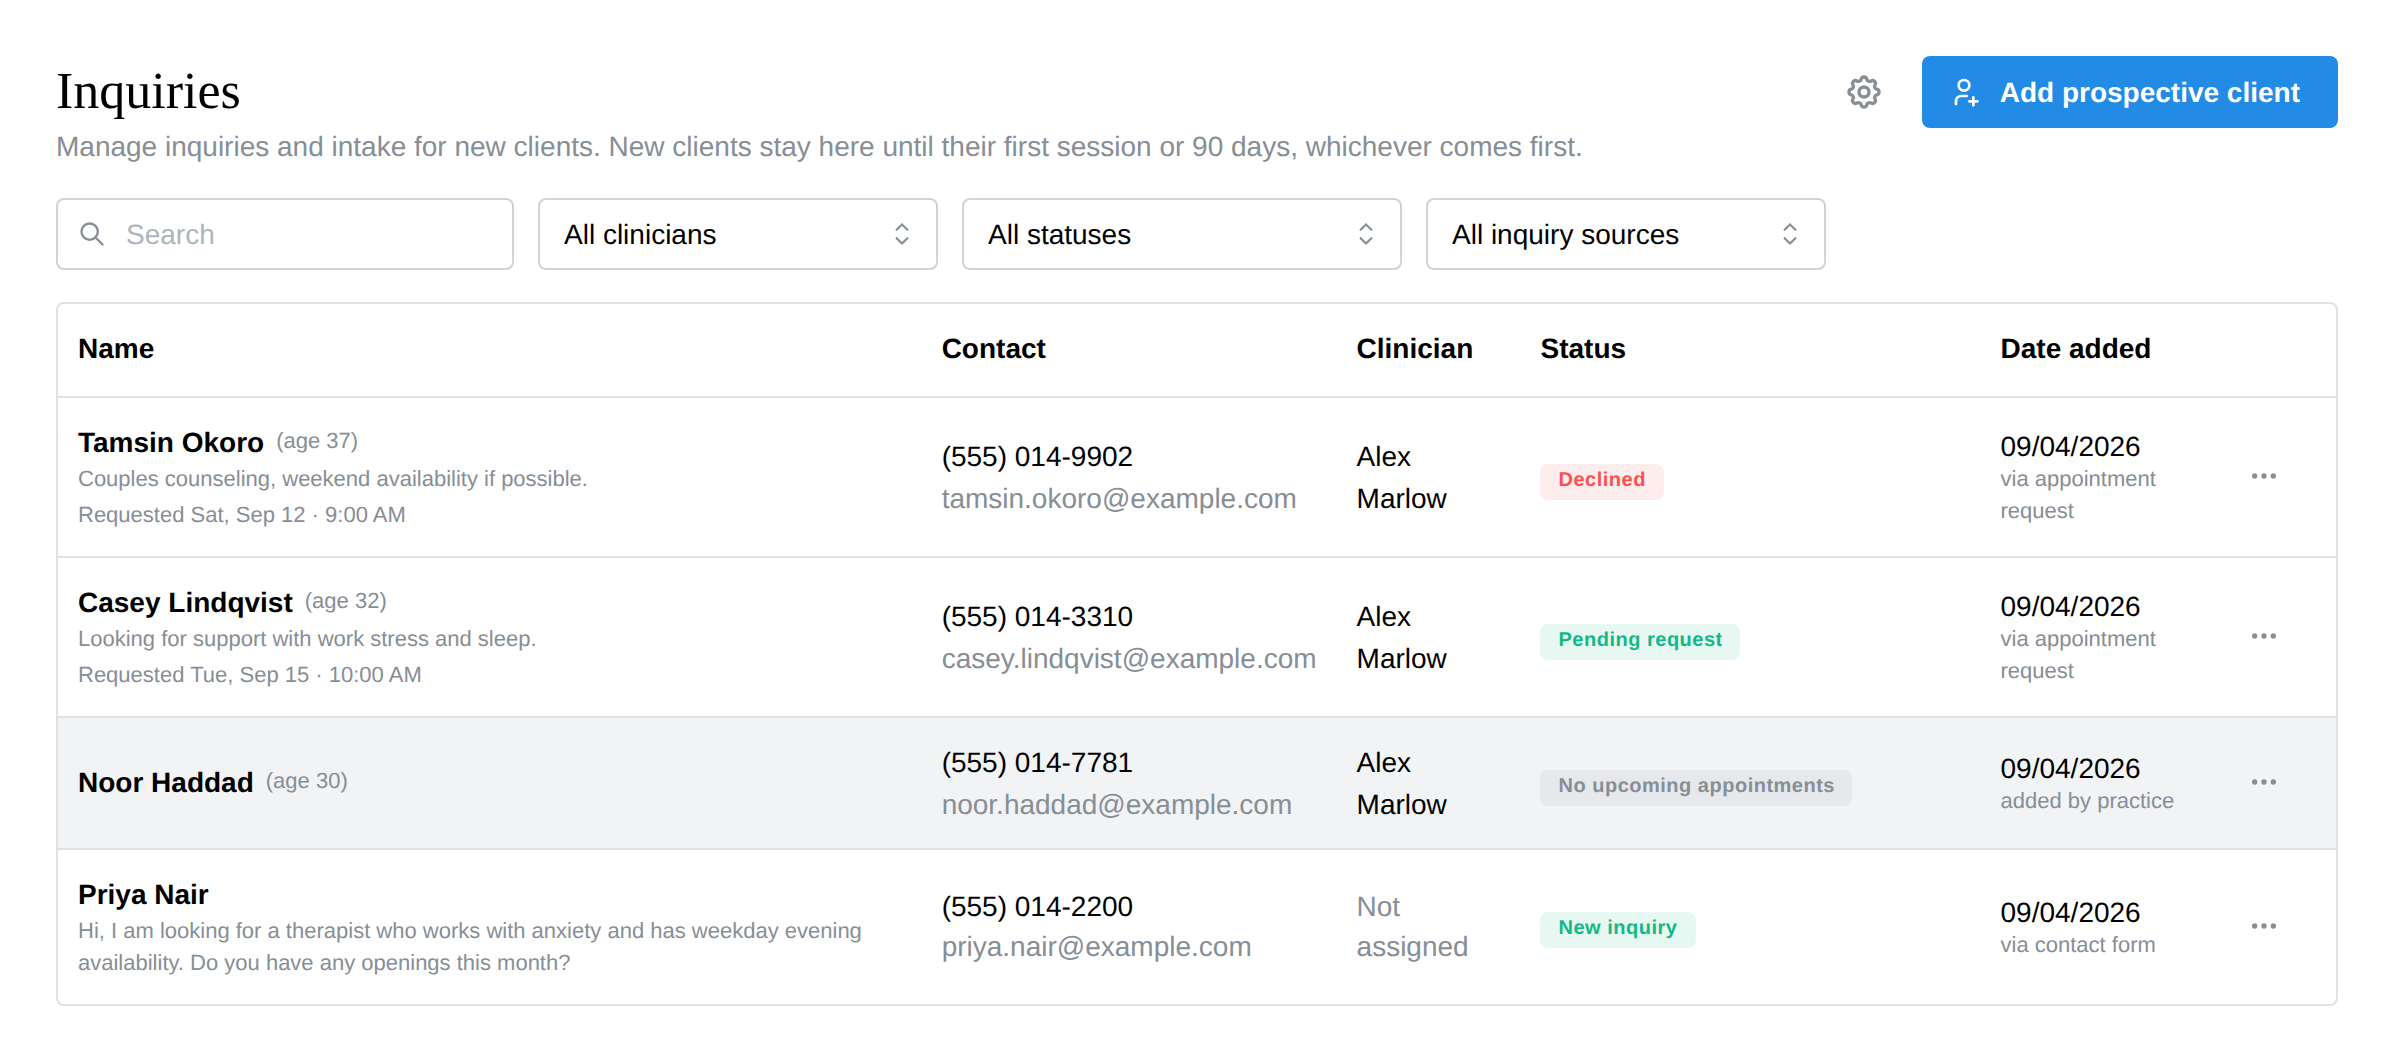
Inquiries in the left sidebar is your new-client pipeline: everyone who has reached out or been added but hasn't had a session yet, in one list. The number on the sidebar item is how many people are on the list.
Who appears here
Three kinds of rows, newest first:
- Booking requests from your public booking page, waiting for you to accept or decline (status Pending request). Requests you declined in the last 90 days stay listed as Declined so you can still reach the person.
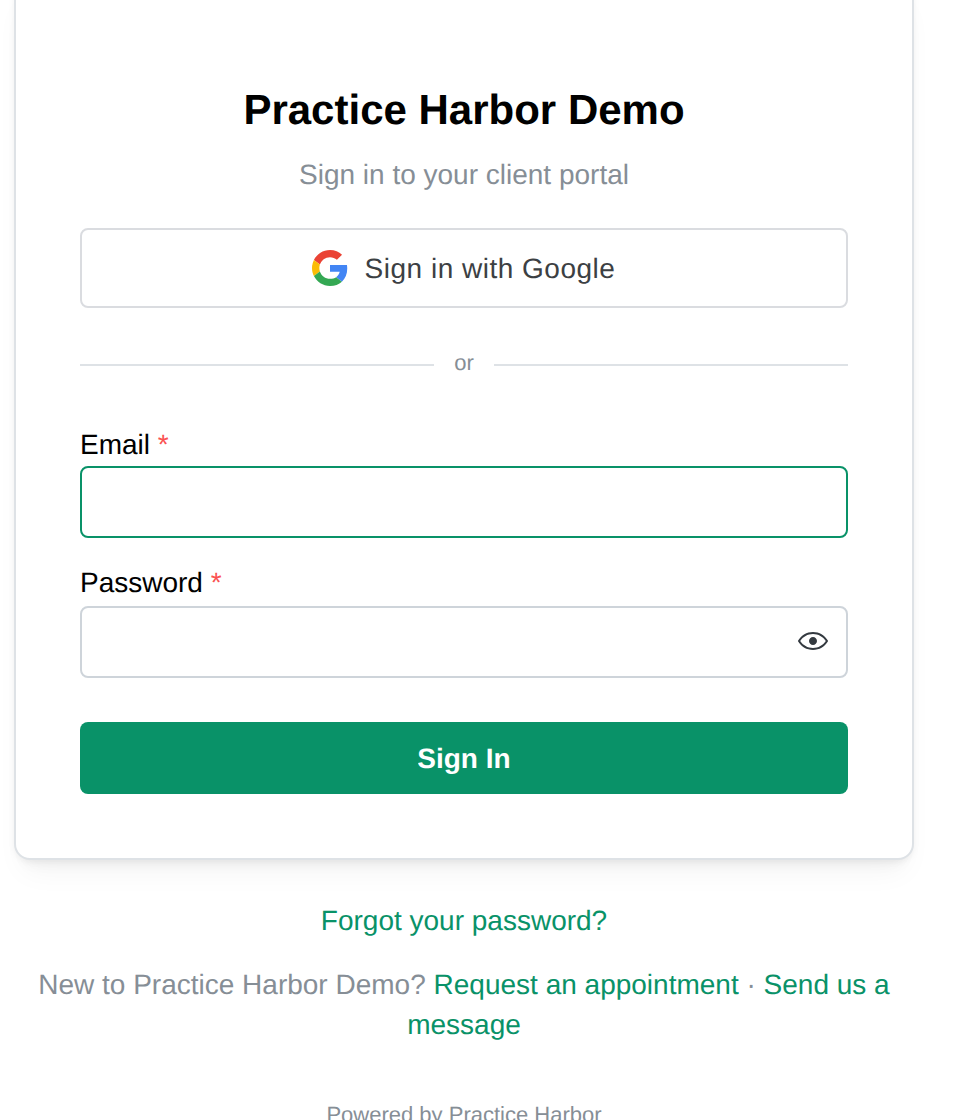
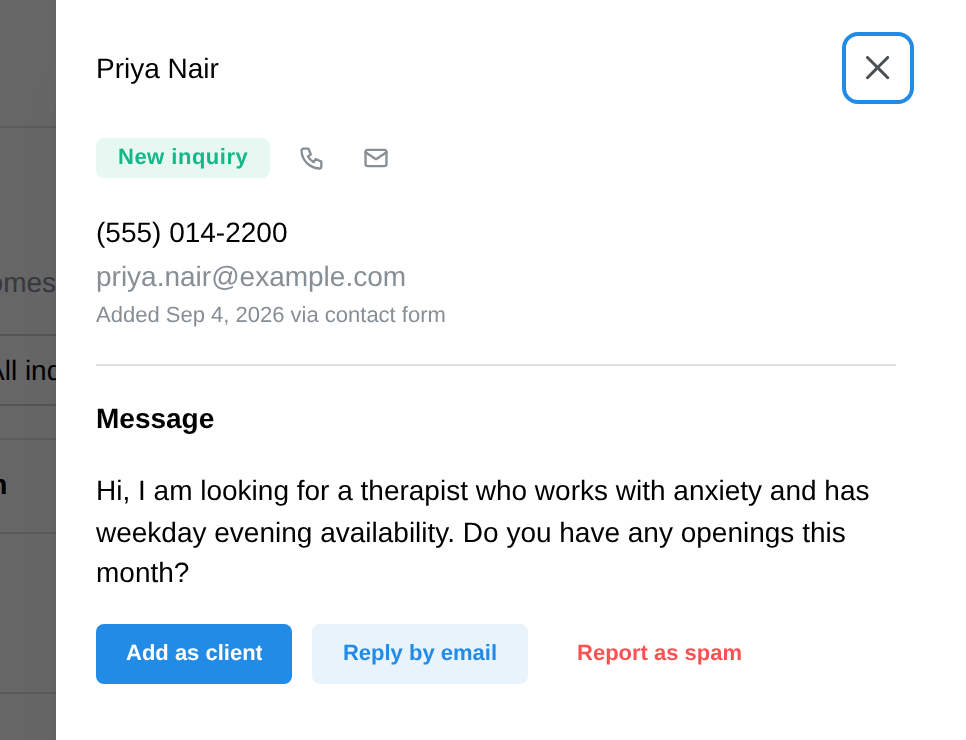
- Contact-form messages (status New inquiry) - someone used the "Send us a message" link on your booking page or portal sign-in instead of picking a time.
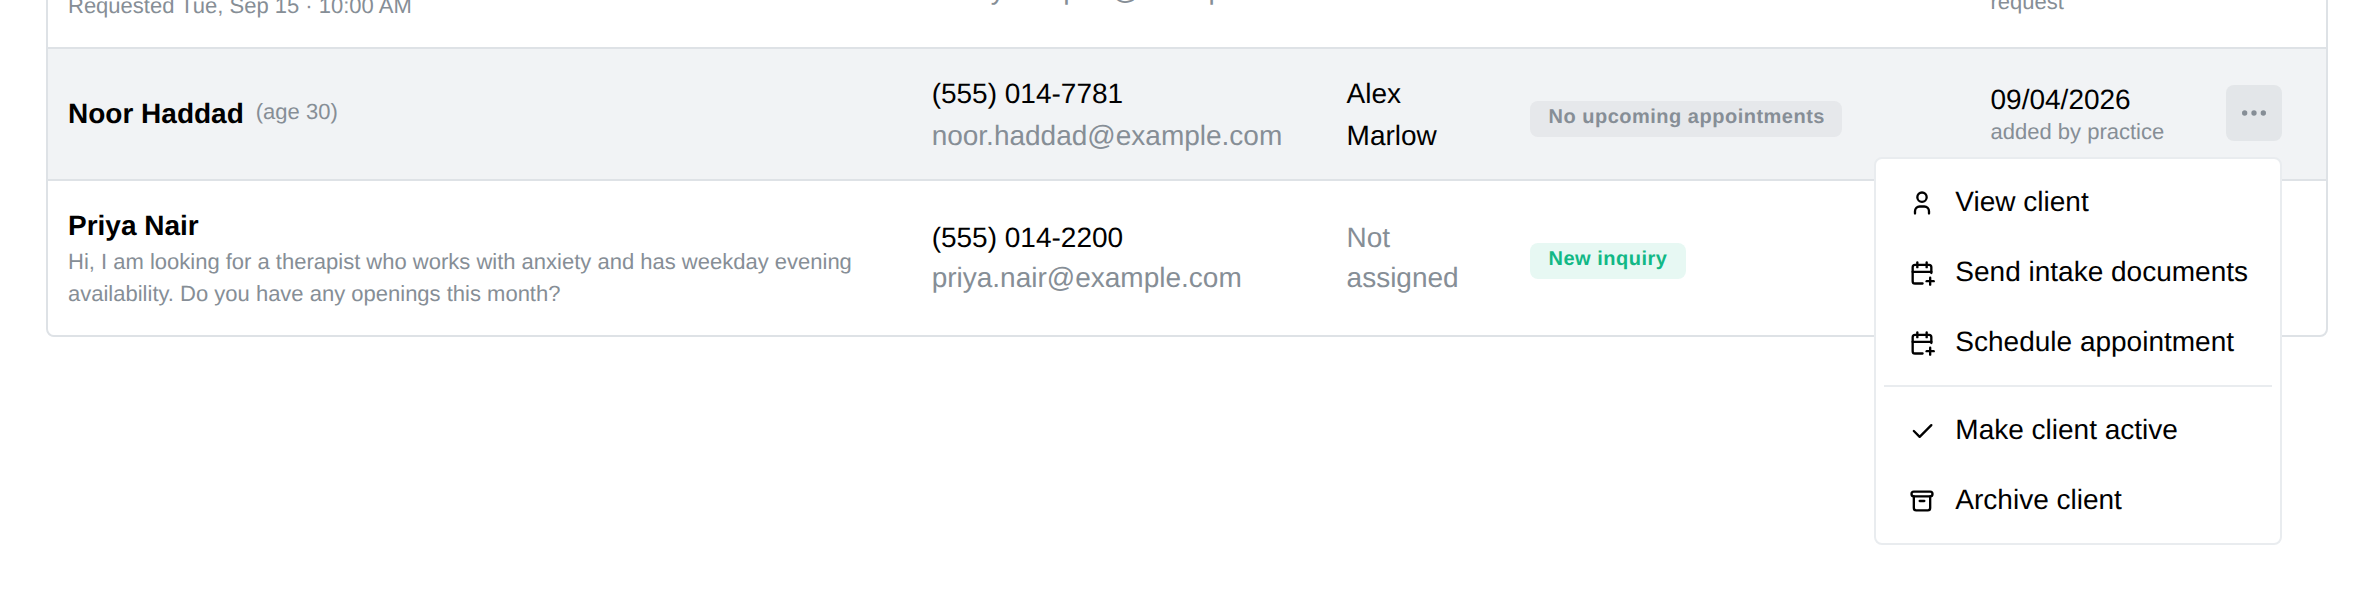
- Prospective clients - people who came in through your booking page or contact form and haven't had a session yet, plus anyone you've marked Prospective on their chart. Their status shows Scheduled with the next appointment, or No upcoming appointments.
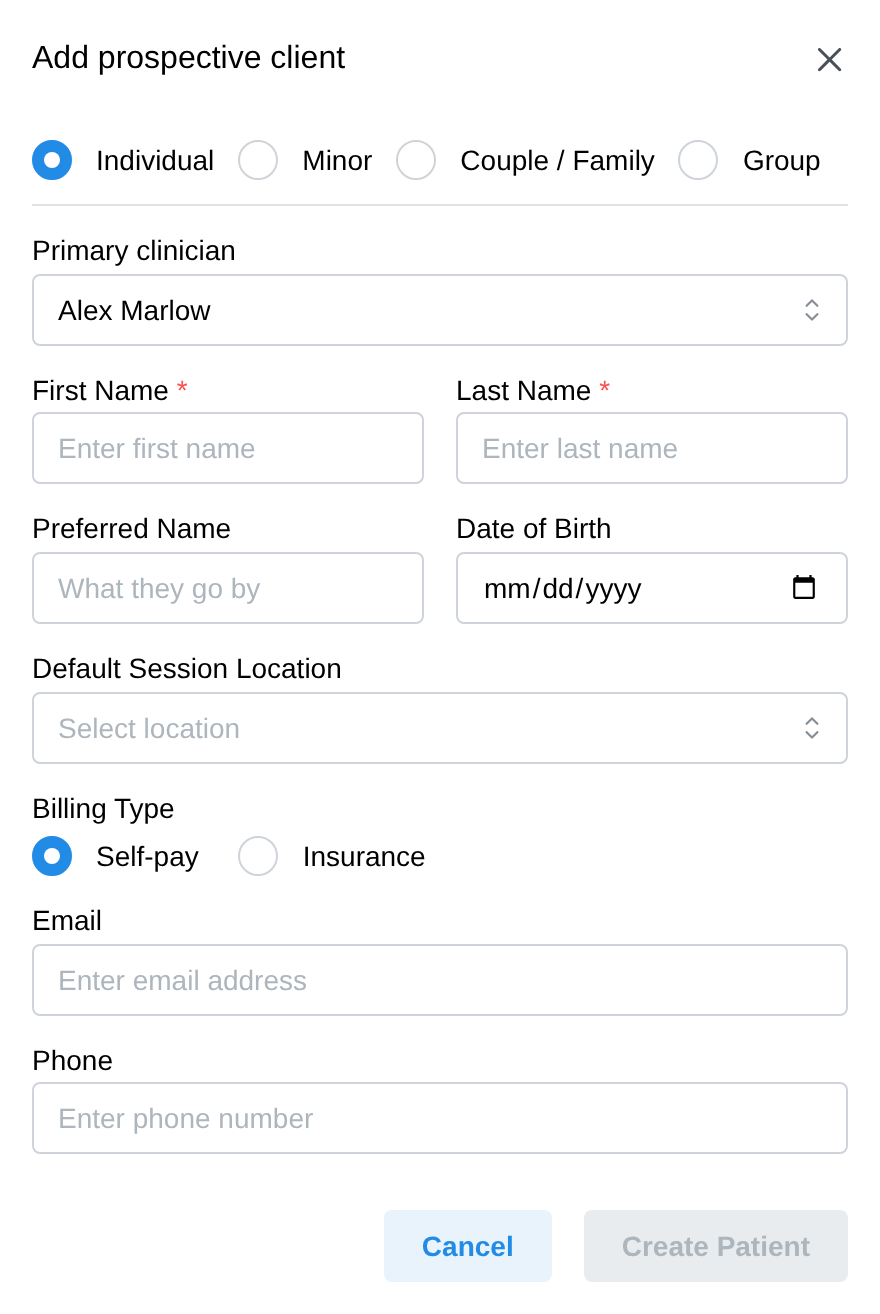
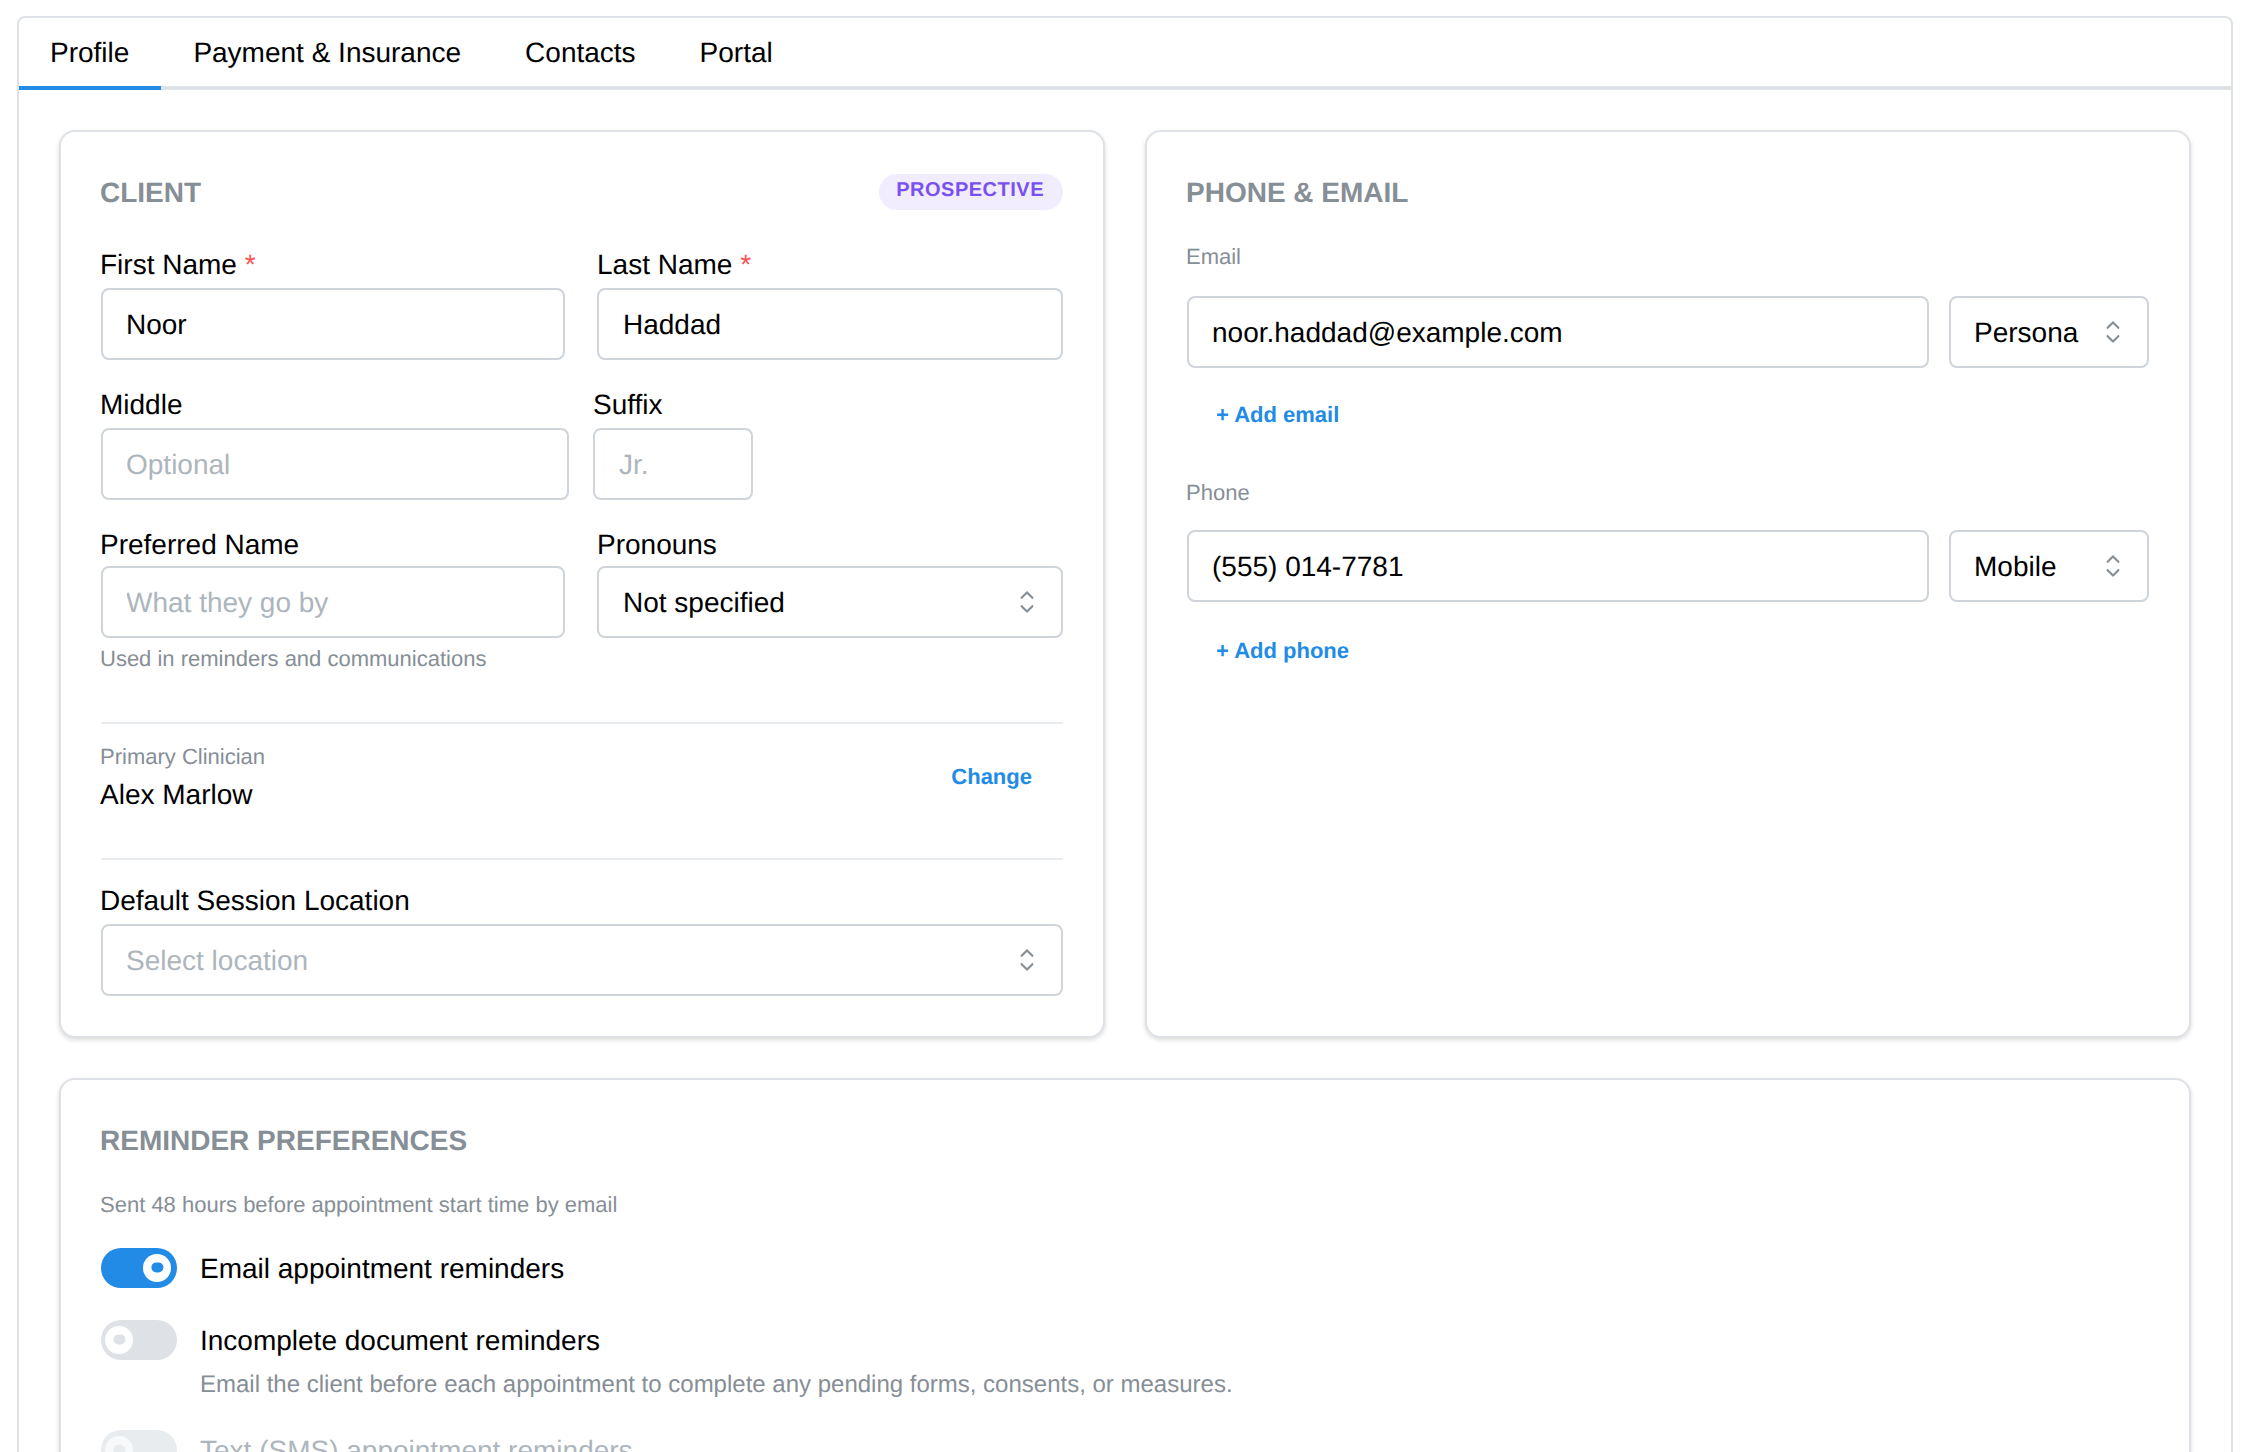
A client you add from the Clients page is just a client and doesn't appear here. To add someone who hasn't committed yet, use Add prospective client at the top of this page: it's the same form, but the person is marked Prospective and no intake workflow starts. You can also mark an existing client Prospective: open their chart and click the status badge at the top of Client Info until it reads Prospective (it cycles Active, Prospective, Inactive), or use Mark as Prospective in the row menu on the Clients page. A prospective client shows a violet Prospective badge in the chart header and on the Clients page. People leave the list on their own after their first attended session, or 90 days after arriving if nothing was ever scheduled, or when you choose Make client active or Archive client from the row menu. Nothing about the client record changes when they leave the list.

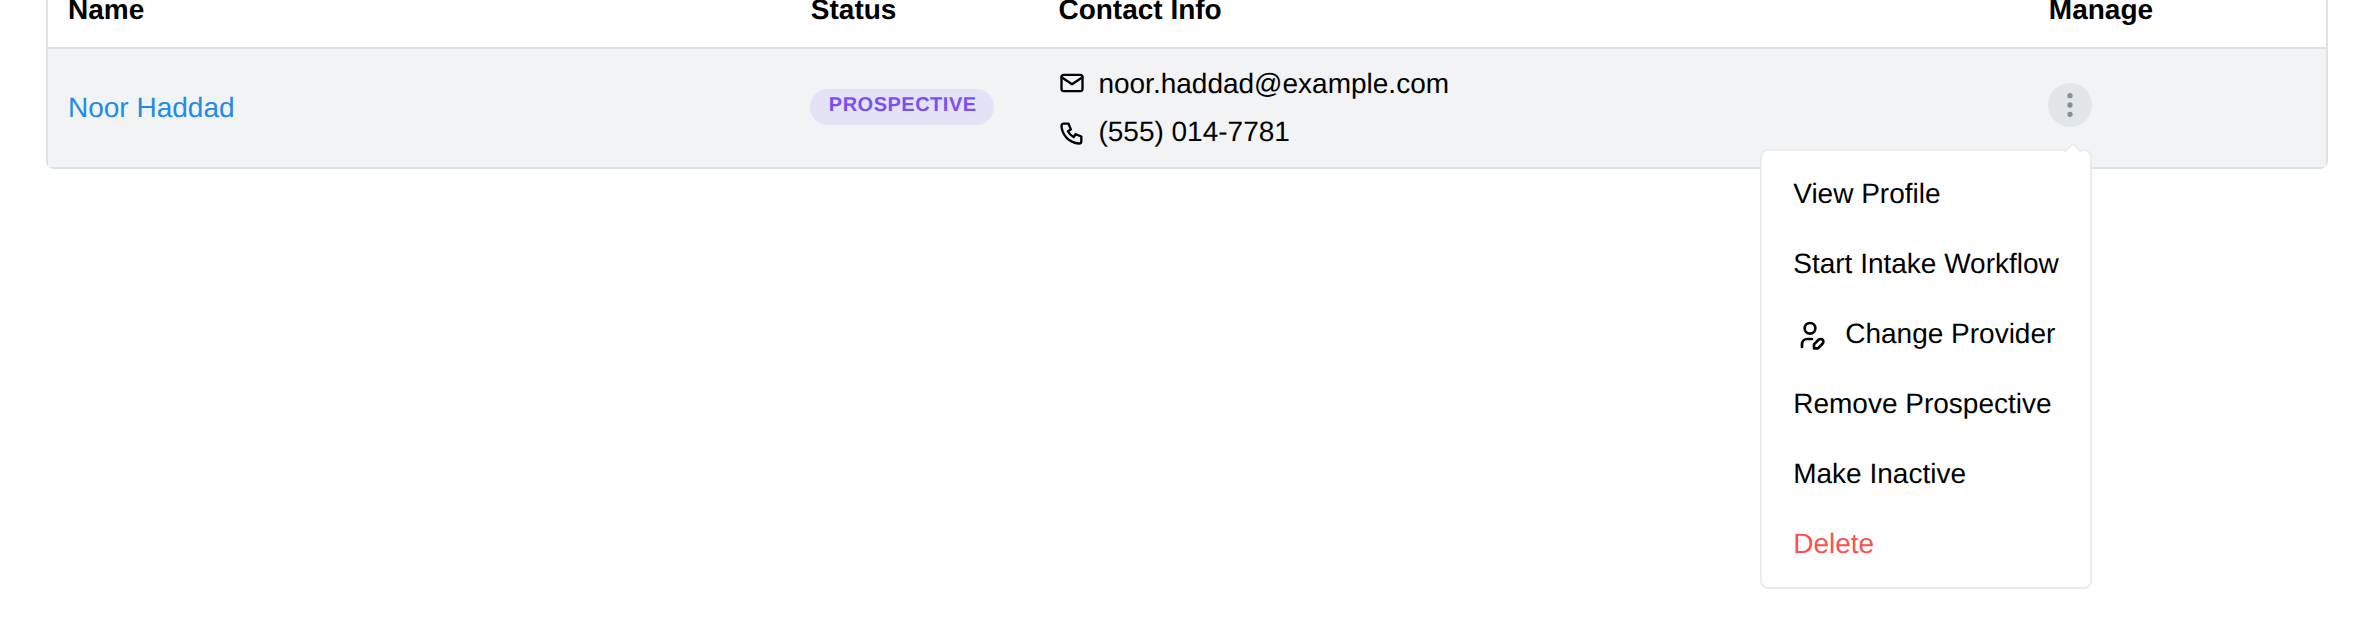
The Inquiries item is always in your sidebar; the count appears when someone is on the list.
Each row shows contact details, the assigned clinician (or Not assigned), and how they found you: via appointment request, via contact form, or the referral source on their record.
The inquiry panel
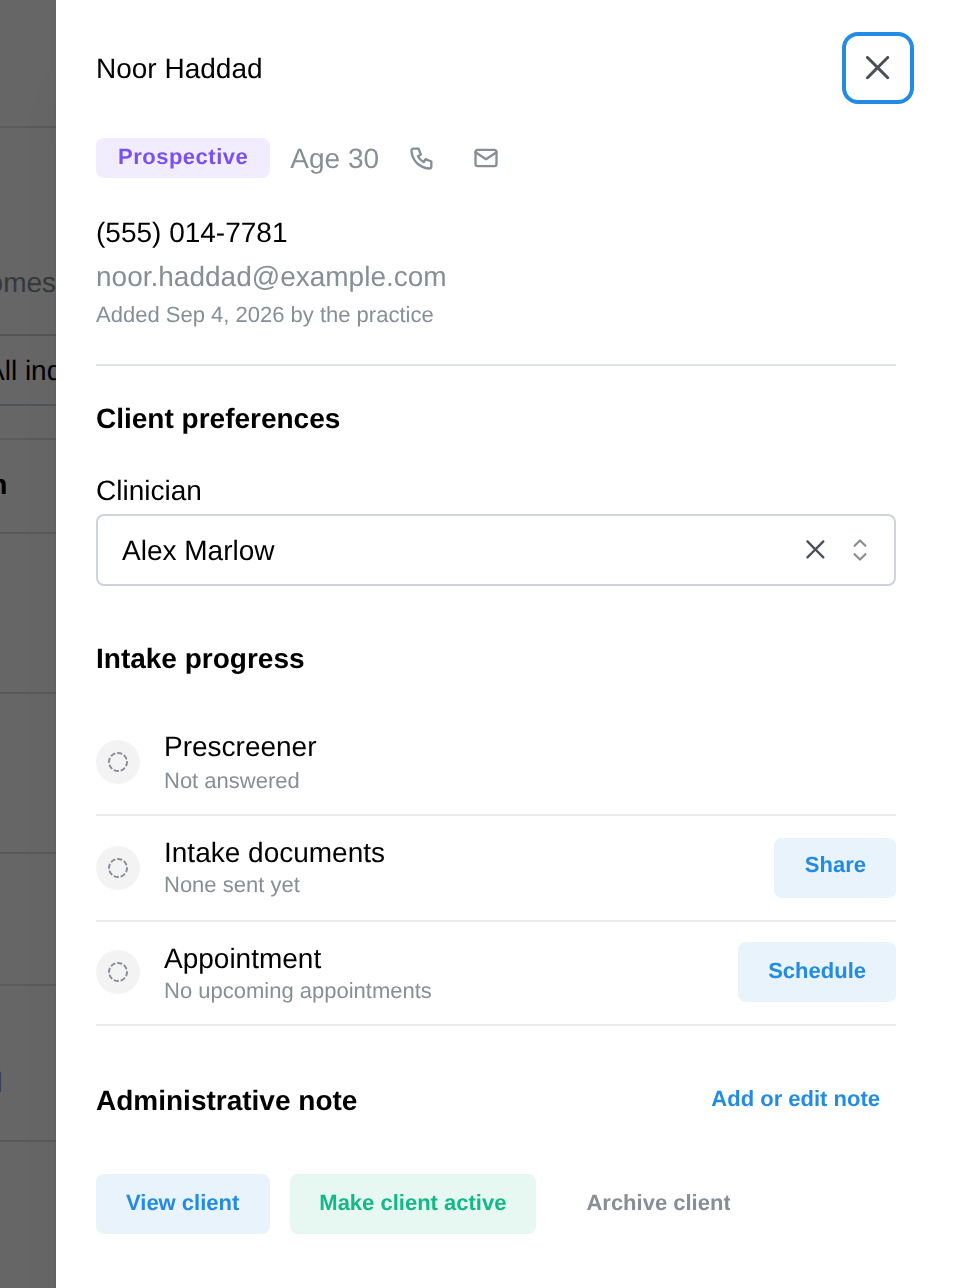
Click anywhere on a row to open a panel on the right with everything about that person:
- Contact details, with call and email shortcuts, and when and how they reached you.
- Clinician - for new clients, pick or change the assigned clinician here. Practice managers, schedulers and entire-practice clinicians can assign; other clinicians see their own.
- Intake progress - a checklist that fills itself in: Prescreener (open the arrow to read their answers), Intake documents (how many of the forms you sent are complete, with Share or Review), and Appointment (the next scheduled session, or Schedule).
- Administrative note - the same staff-only sticky note that lives on the client's chart, so a "call back Tuesday" reminder is visible in both places.
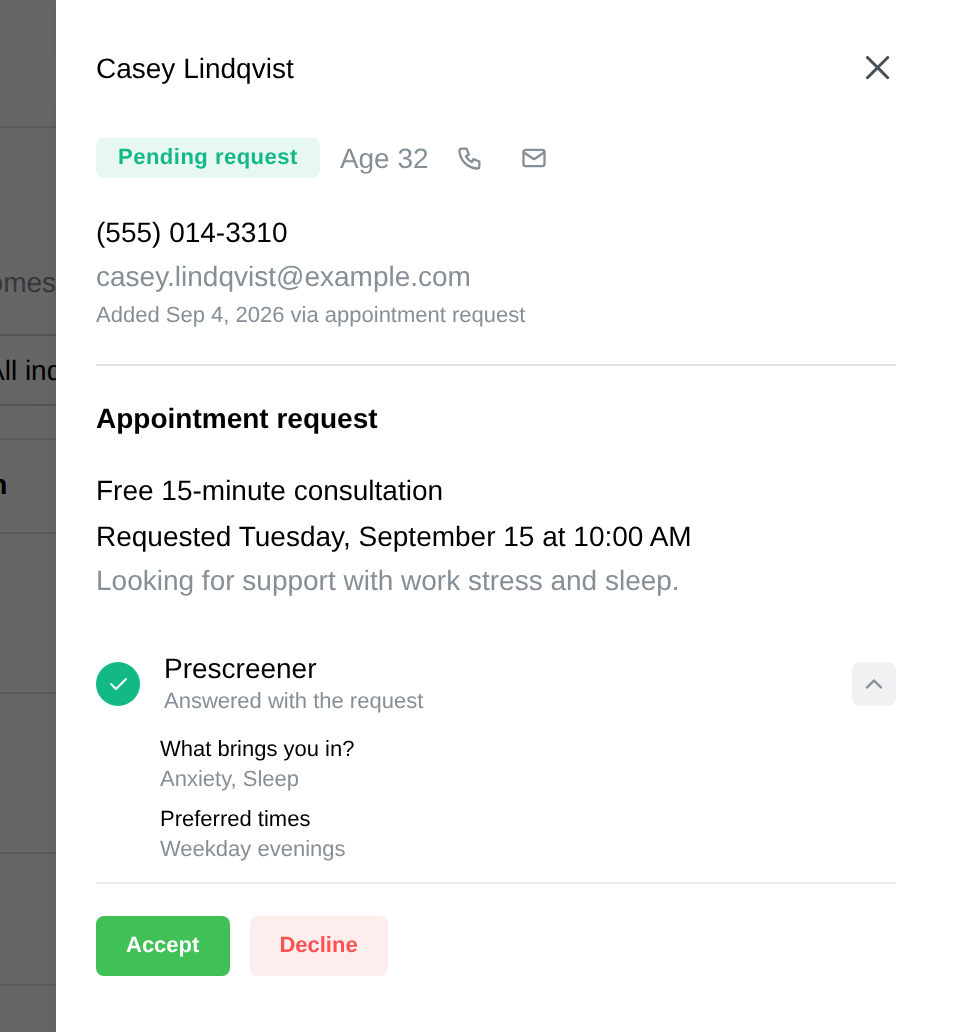
For a booking request the panel shows the requested service and time, the reason for visit, the prescreener answers, and the Accept and Decline buttons. For a contact-form message it shows the full message with Add as client, Reply by email and Report as spam.
Working the list
Click the three dots on a row:

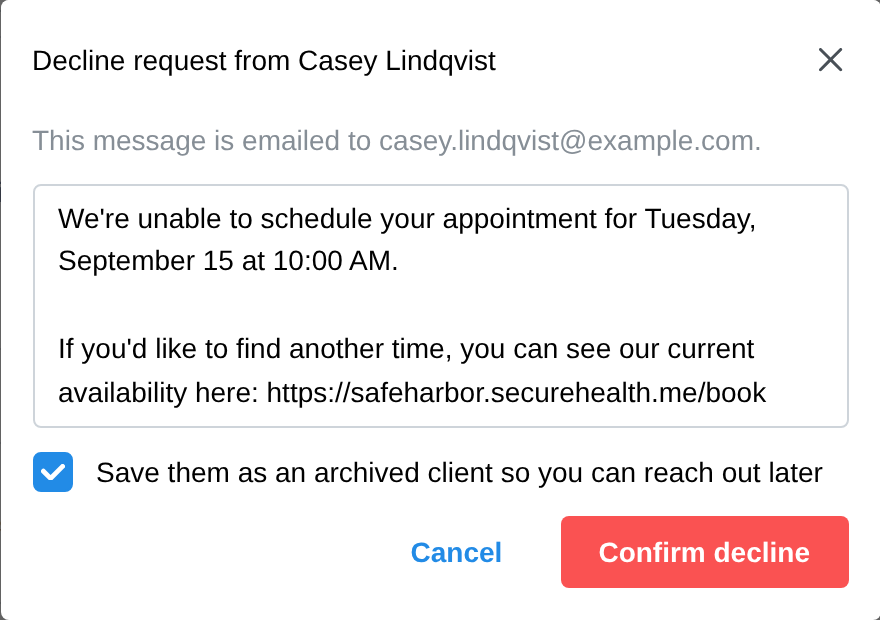
- Booking request - Accept creates the client, sends the portal invitation, places the requested time on the calendar and takes you to the chart to choose intake documents. Decline opens the prefilled message to the client; leave Save them as an archived client ticked to keep a record for later. This is the same review you can do from the calendar's request badge.

- Contact-form message - Add as client creates a client from the name, email and phone they gave (if an active client already has that email, you're taken to their chart instead). Reply by email opens your mail app. Report as spam removes the message from the list.
- Prospective client - View client, Send intake documents, Schedule appointment, Make client active (off the list, chart unchanged), or Archive client.
- Declined request - Open archived client, or Save as archived client if you declined without keeping one.

Use the filters to narrow by clinician (including Not assigned), status, or inquiry source, and the search box for a name, email or phone number.

Who sees what
- Practice owners, entire-practice clinicians, practice managers and schedulers see every row.
- Standard, Billing Access and Basic clinicians see only new clients assigned to them; booking requests and contact-form messages are handled by the practice.
- A practice biller seat has no Inquiries item.
Getting inquiries
- Booking requests need online booking turned on.
- The contact form is linked from your booking page ("Not ready to book? Send us a message") and the portal sign-in page whenever you're accepting new clients. You can also embed it on your own website from Settings > Online Booking > Widgets.