Getting started with client billing
Client billing follows one simple pipeline. This page is the map; the linked pages go deeper on each step.
In this guide, we'll cover:
The pipeline
Fee schedule → appointment (service + fee) → billable item → invoice → payment
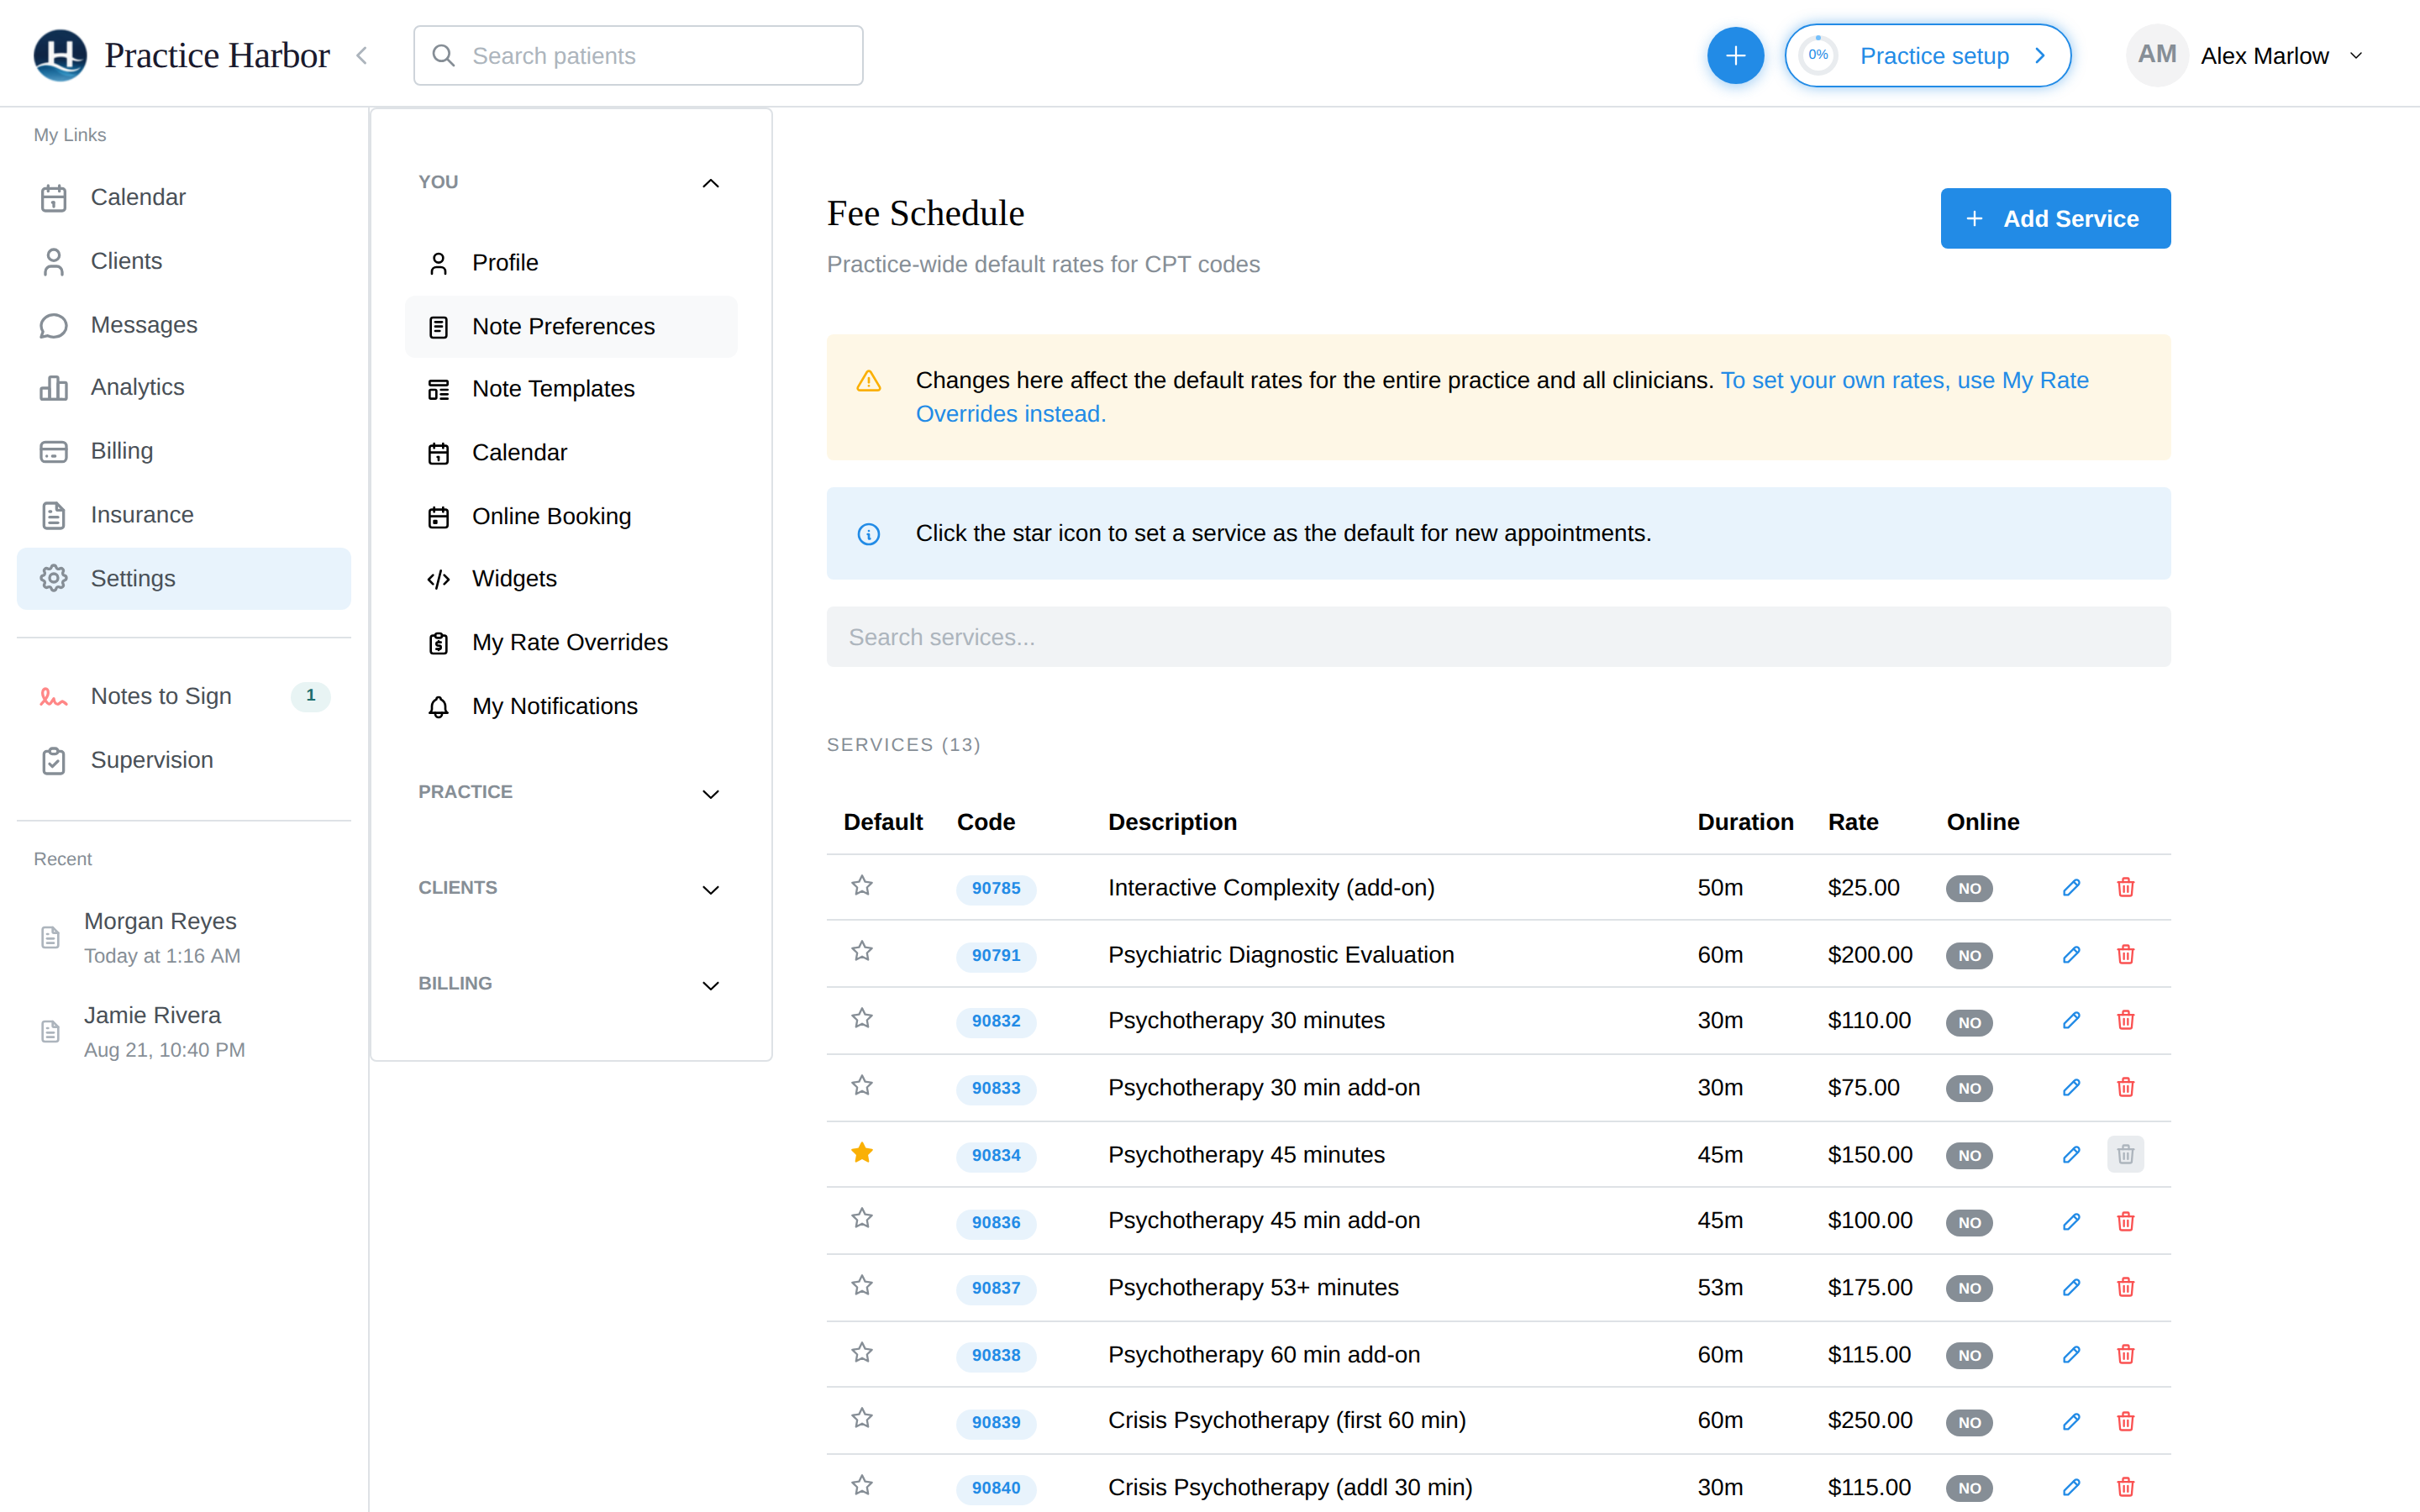
- Fee schedule — your practice-wide default rates per CPT code live at Settings → Fee Schedule (14 common psychotherapy codes are set up for you; adjust rates to yours). Individual clinicians can differ from practice defaults via My Rate Overrides. The star marks your default service for new appointments.
- Appointment — every appointment carries a service code and fee (pre-filled from the client's defaults or your starred service). This is what makes a session billable.
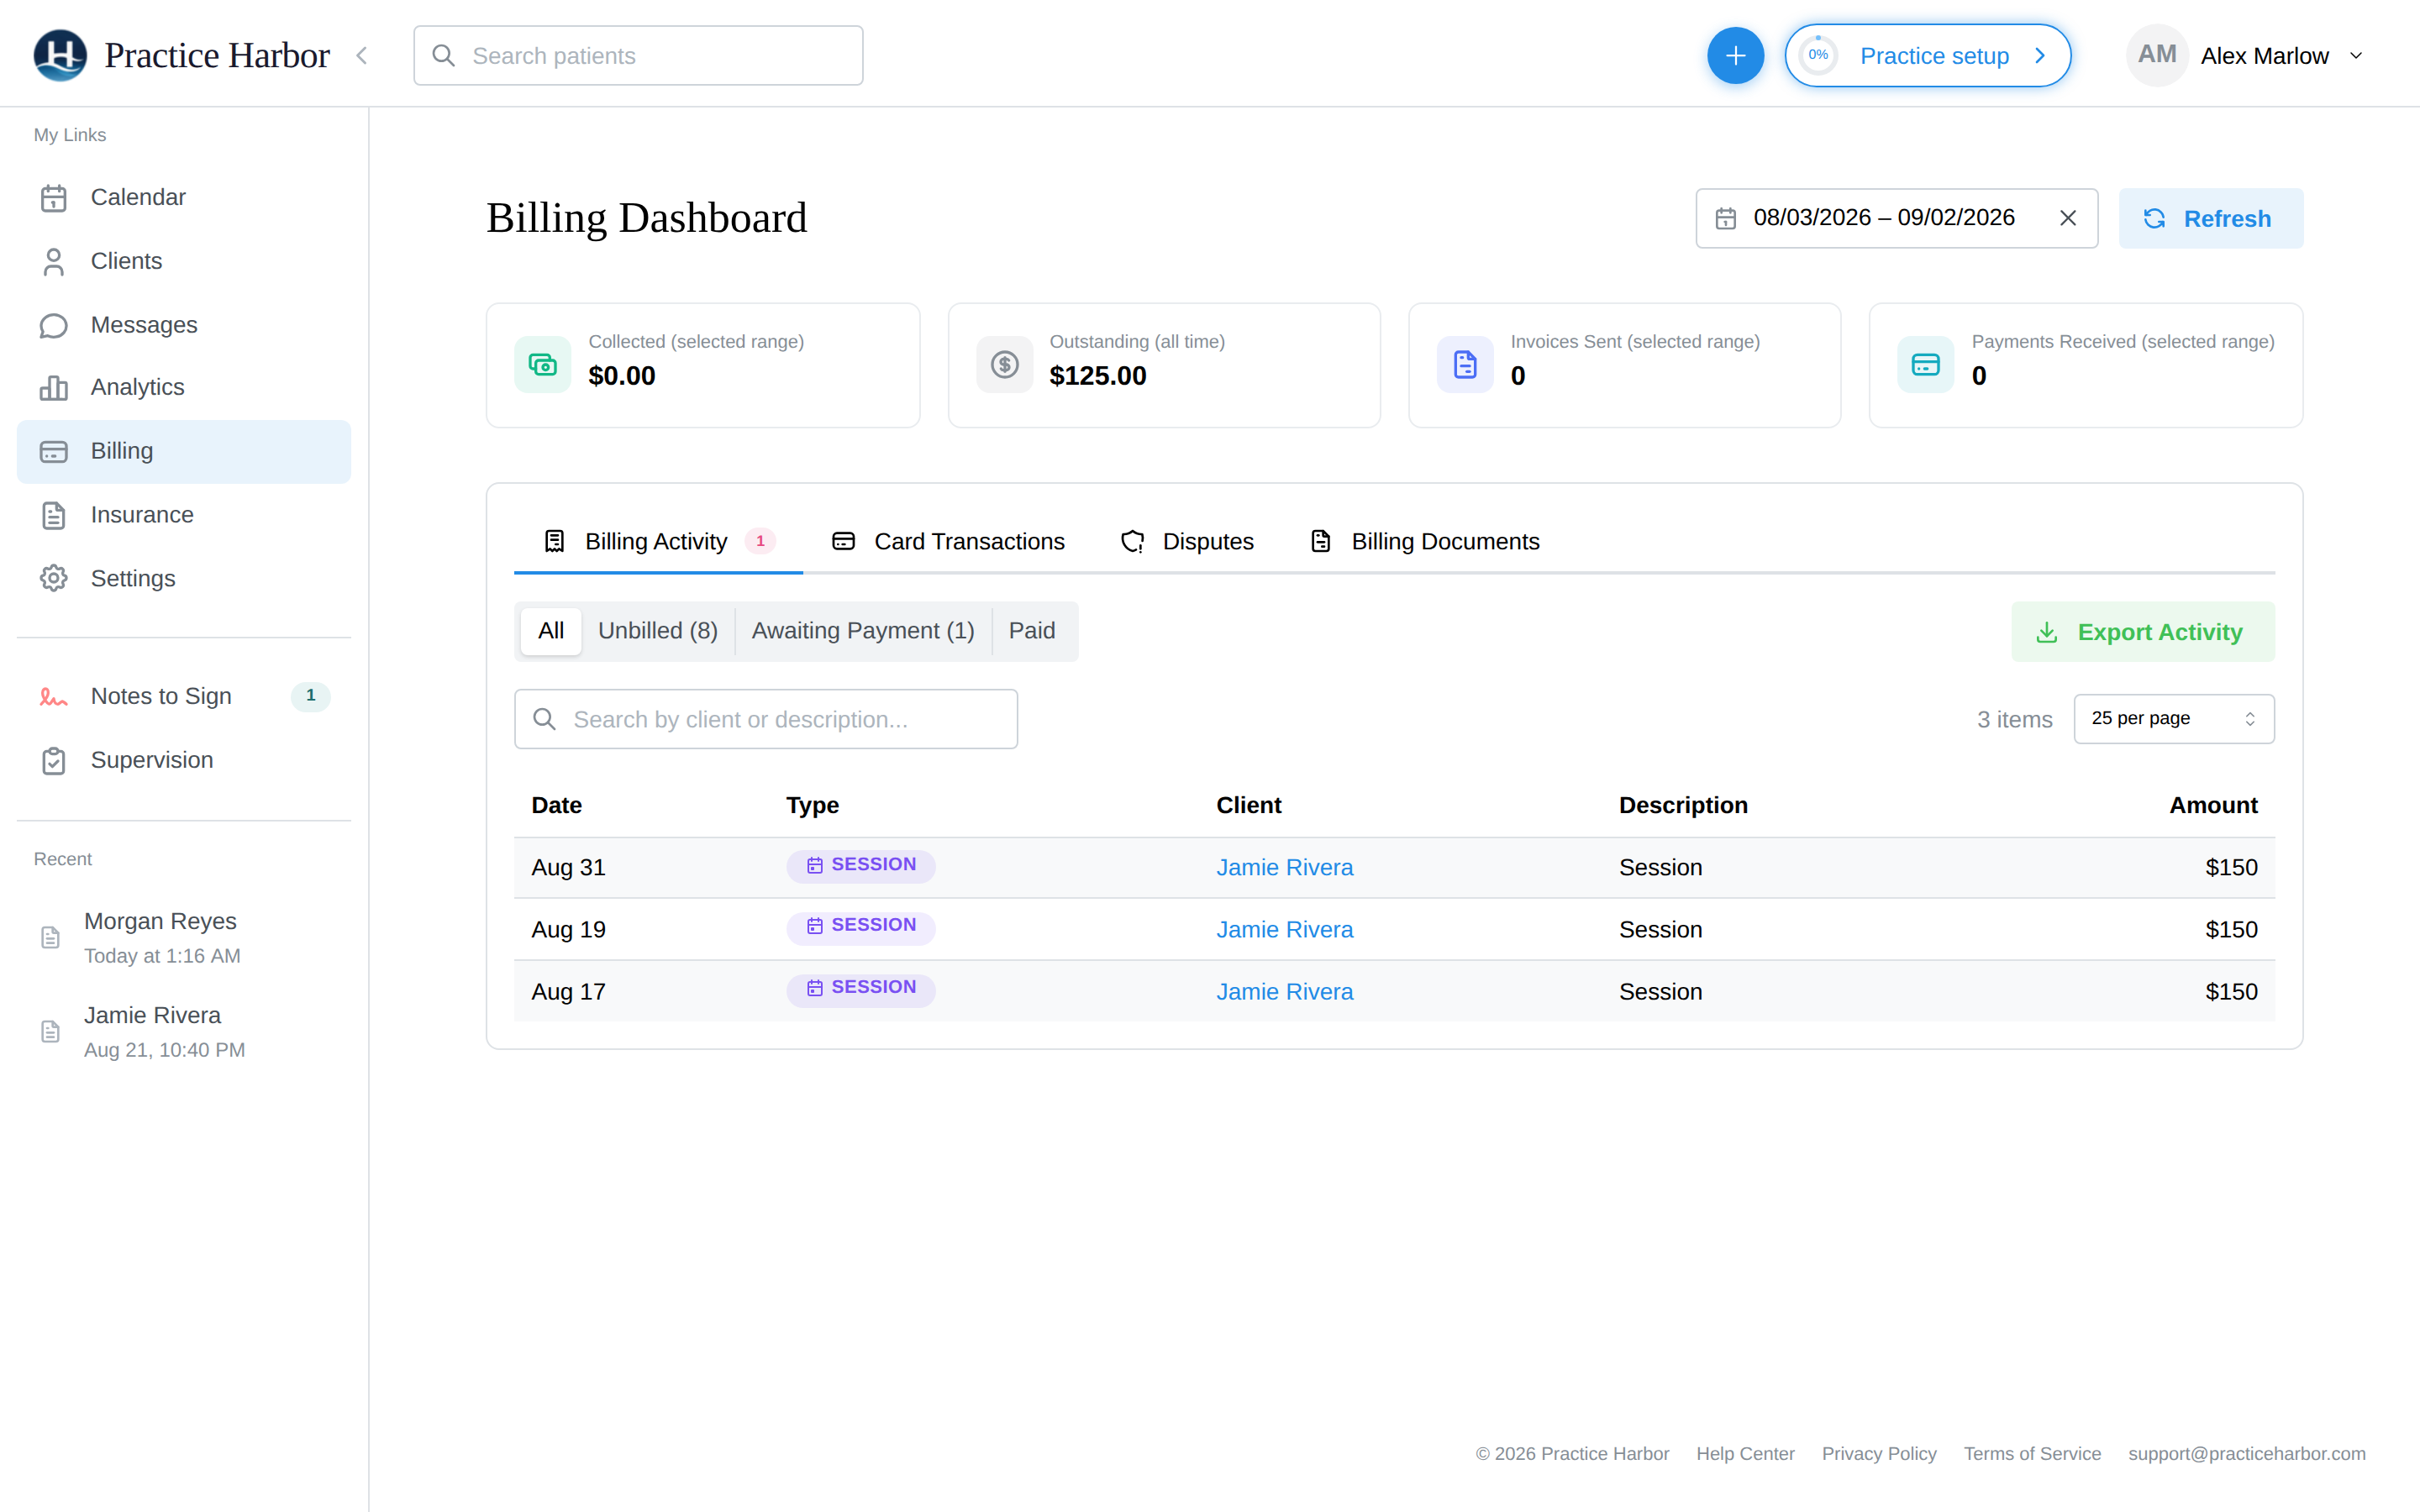
- Billable item — after the session, the appointment appears on the client's Billing tab (and in the practice-wide Billing → Billing Activity → Unbilled filter).
- Invoice — turn billables into an invoice from the client's Billing tab (New Invoice) or right from the appointment panel. See Invoices.
- Payment — collect by card (saved methods / AutoPay), record cash or check, or let the client pay from the portal. See Payment Collection.
Self-pay vs insurance
Each client's payment responsibility (Private pay or Insurance) is set on their Payment & Insurance tab. Self-pay clients follow the pipeline above; insurance clients split each session between the payer and the client — see the Insurance section. Either way, the client-owed part ends in the same invoice-and-payment pipeline.
Watching the money
The Billing Dashboard (left navigation → Billing) is the practice-wide view: collected vs outstanding, invoices sent, and the activity list filterable by Unbilled / Awaiting Payment / Paid — your daily billing to-do list. See Billing Overview for the full tour.