Appointments & video sessions
The Appointments page shows everything scheduled with your practice, and it's where you join when your session is by video.
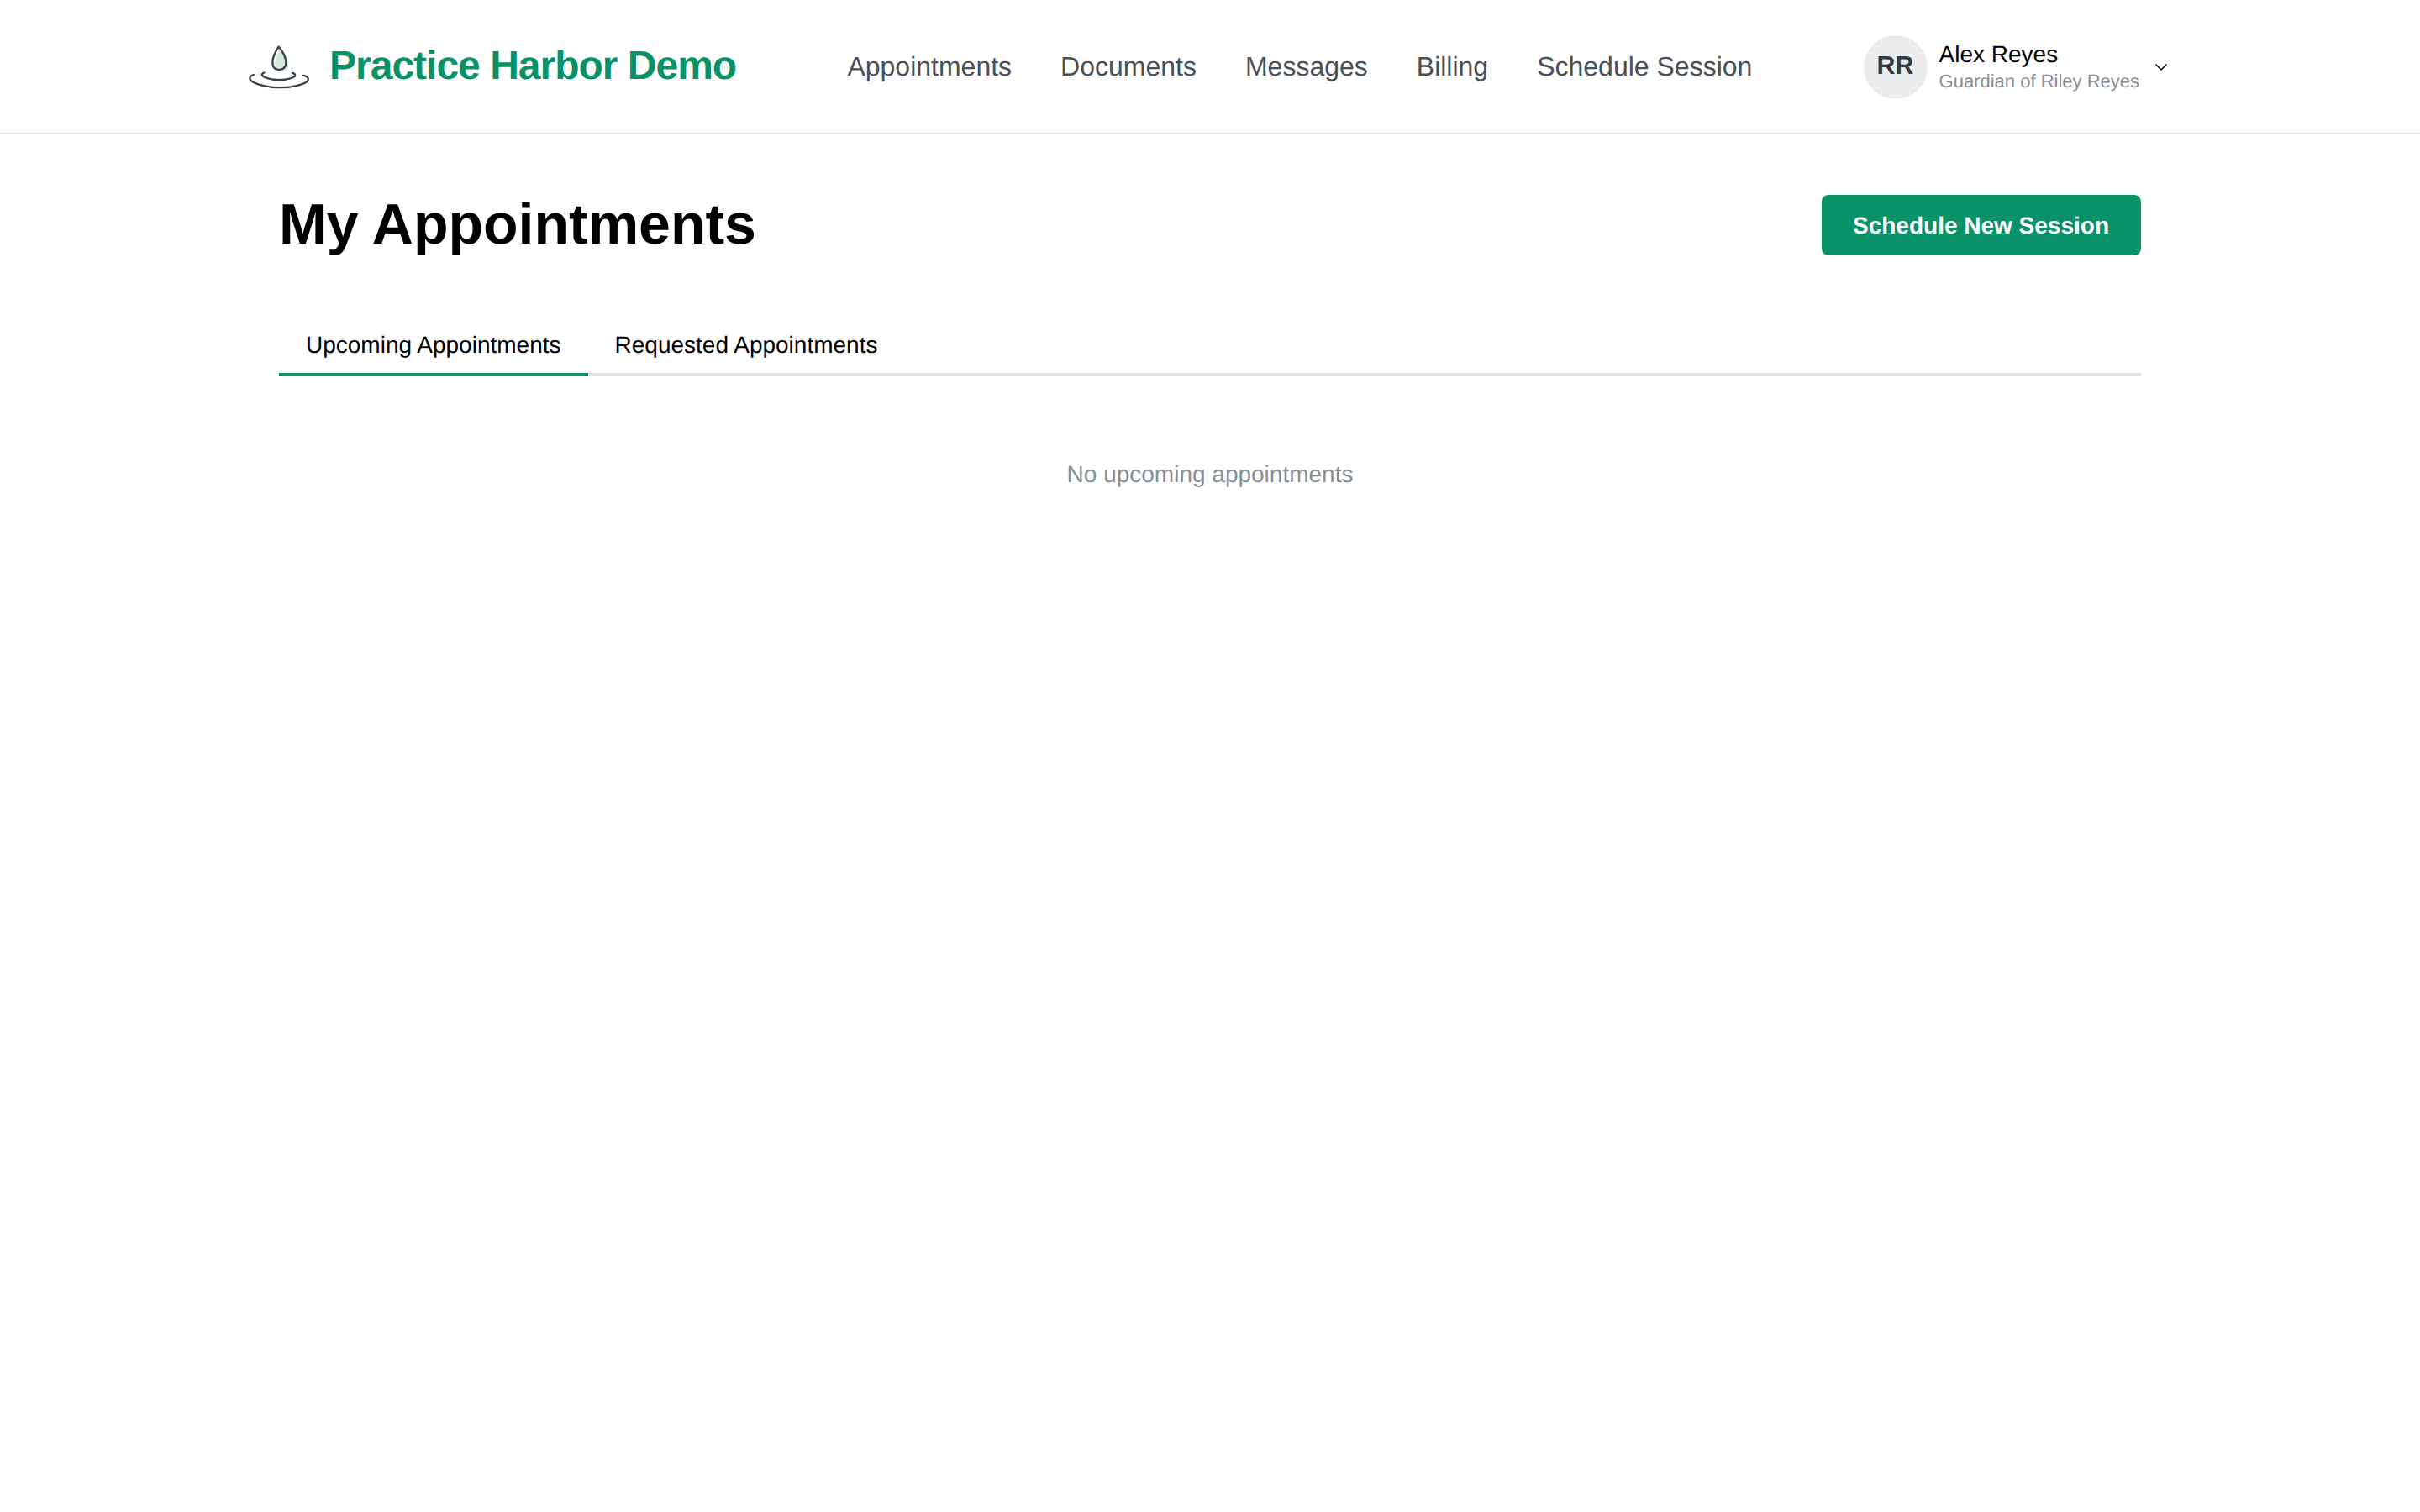
In this guide, we'll cover:
- Your appointments at a glance
- Requesting a new session
- Cancelling a confirmed appointment
- Joining a video session
Your appointments at a glance
My Appointments has two tabs:
- Upcoming Appointments — sessions that are confirmed on your provider's calendar
- Requested Appointments — requests you've sent that are waiting for the practice to review (marked Pending Review)
Each card shows the session type, date and time, your provider, and the location — video sessions say Video Session. On a confirmed appointment, Add to Calendar downloads it to your phone or computer's calendar.
Requesting a new session
If your practice has online scheduling turned on:
- Click Schedule Session in the top menu.
- Choose the session type, the location (office or video), and a date and time from your provider's available slots, then submit.
- Your request appears under Requested Appointments. It isn't final until the practice accepts it — you'll see it move to Upcoming Appointments once confirmed.
Changed your mind? Open the request and click Cancel Request.
Cancelling a confirmed appointment
If your practice allows online cancellation, confirmed appointments under Upcoming Appointments show a Cancel Appointment button while you're still outside the practice's cancellation window (for example, more than 24 hours before the start time):
- Open Appointments and find the appointment under Upcoming Appointments.
- Click Cancel Appointment, then Confirm Cancellation.
- The appointment shows as Cancelled and your practice is notified automatically.
Once you're inside the cancellation window, the button is replaced by a note with your practice's notice requirement — at that point, contact your practice directly to cancel. Couples, family, and group sessions can't be cancelled online; contact your practice for those. Rescheduling always goes through your practice.
If you don't see a Cancel button at all, your practice handles all cancellations directly — reach out to them.
Joining a video session
- Open Appointments and click Join Session on your video appointment. You can join any time before your appointment — if you're early, you'll simply wait in the waiting room.
- Get Ready for Your Session — your browser will ask permission to use your camera and microphone; click Allow. You'll see your own camera preview, a mic level check, and (on supported browsers) a background-blur option.
- Click Enter Waiting Room. You'll see "Your provider will be with you shortly." If you arrive more than 30 minutes early, the waiting room shows when your session starts instead.
- When your provider starts the session and admits you, you're connected automatically — nothing more to click.
When the session is over you'll see Session Ended, and you can close the page.
Does your practice use Zoom, Doxy.me, or another video platform? If their meeting link is on file, Join Session opens that platform directly — follow its prompts instead of steps 2–4 above. If your provider shares their meeting link with you privately (by email or text), join from that link; the appointment card won't show a Join button.
Video tips
- No app or download needed — sessions run right in your browser (Chrome, Firefox, Safari, or Edge). Chrome works best.
- Use a private, well-lit spot with a stable internet connection.
- If the camera or microphone is blocked, look for the camera icon in your browser's address bar to allow access, then reload the page.